EN
EN
Working out what to hire, what to buy, and what to leave alone is one of the less glamorous parts of planning a ski trip - but getting it right makes a noticeable difference to how your week goes. Boots that fit properly, skis matched to your ability, and clothing that actually keeps you warm and dry are the foundation of a good time on the mountain. This guide walks you through each decision in order, from the hire shop to your suitcase. If you want the full breakdown of what equipment a ski holiday involves, our complete ski equipment guide covers every item. And if you’re looking for specific recommendations, our best ski gear for beginners list picks out the standout options.
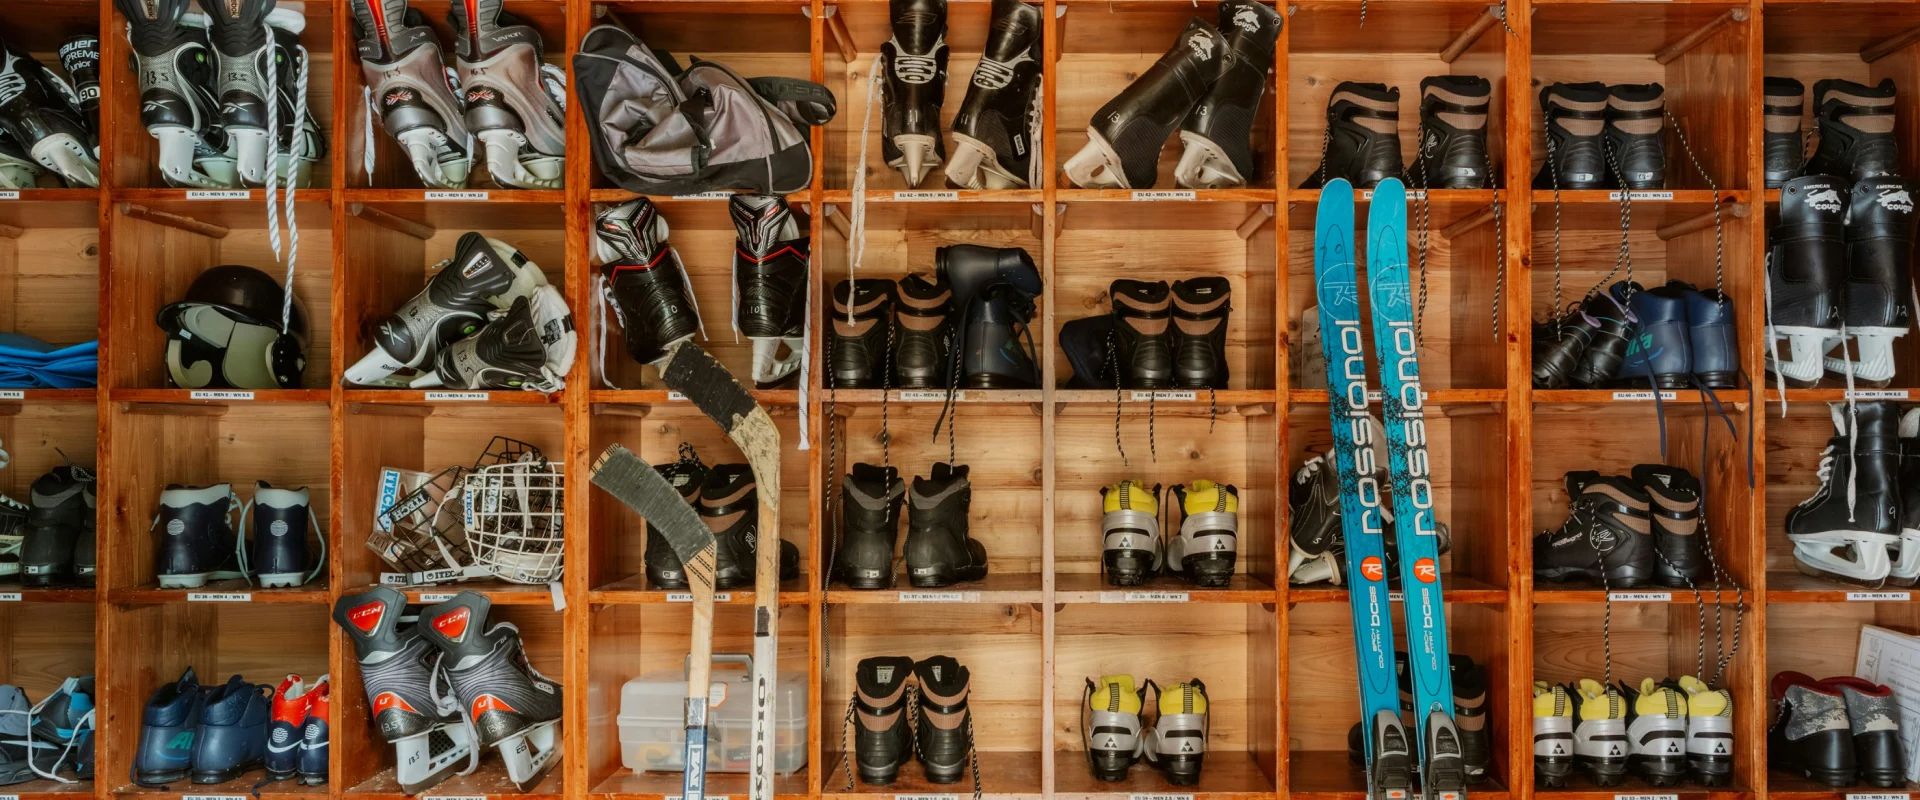
The dividing line is straightforward. Technical equipment that touches the snow - boots, skis, poles, helmet - gets hired in resort. Clothing and accessories - jacket, trousers, base layers, goggles, gloves - you bring from home (or buy beforehand). This split works because technical equipment needs to be fitted to your current size and ability, which changes as you improve, while clothing stays consistent trip to trip.
Hiring in resort rather than at home or online has practical advantages. The shop is usually a short walk from the slopes, so if something doesn’t feel right after your first morning, you can swap it during lunch. Most European hire shops are staffed by experienced technicians who see hundreds of beginners a season and know exactly what to look for in a fit. They’ll also adjust bindings and boot buckles without charge during the week.
Boots are the single most important piece of equipment, and the fitting process is worth taking seriously. A well-fitted boot gives you control over the ski. A poorly fitted one - even if it’s a more expensive model - creates pressure points, reduces responsiveness, and makes every turn harder than it should be.
When the technician fits your boot, stand up straight and push your toes forward to the front of the shell. You should feel them just touching. Now flex your shins forward as if you’re skiing - your toes should pull back from the front and sit comfortably. If you can still wiggle your toes freely in the skiing position, the boot is probably too big. It should feel snug without any sharp pressure points.
Two common mistakes: choosing boots that are too big because snug feels uncomfortable in the shop, and wearing thick socks to compensate for a loose fit. Both reduce control. One pair of thin ski socks is all you need. If the boot doesn’t feel right after your first run, go back to the shop - a buckle adjustment or a different model can transform the experience.
Most hire shops run a tiered system: beginner, intermediate, and advanced (sometimes called bronze, silver, gold or comfort, sport, performance). For your first trip, the beginner tier is the right choice. These skis are shorter relative to your height, softer in flex, and designed to turn easily at low speeds. They’re forgiving of mistakes, which is exactly what you want while you’re learning.
Don’t be tempted to level up for the sake of it. Intermediate skis are stiffer and longer, which makes them more stable at speed but harder to control when you’re still finding your feet. The beginner tier exists because it actually helps people learn faster. If you improve quickly during the week and the skis start to feel too easy, the hire shop can swap them for a higher tier mid-trip - another advantage of hiring in resort.
The layering system is simple once you understand the logic. Each layer has a job: the base layer moves sweat away from your skin, the mid-layer traps warmth, and the outer shell blocks wind and water. Getting the base layer right is the highest priority - a damp cotton t-shirt under a ski jacket will leave you cold no matter how expensive the jacket is.
For the base layer, choose merino wool or a synthetic technical fabric. Both wick moisture and dry quickly. Merino is naturally odour-resistant (useful across a week of skiing); synthetics dry faster and cost less. Either works well. Avoid cotton entirely.
The mid-layer depends on conditions. A lightweight fleece handles most situations. On colder days, swap it for a thin insulated jacket or layer both. The outer shell - your ski jacket and trousers - should be waterproof (minimum 10,000 mm rating), breathable, and have taped seams. Ski-specific jackets include features like a powder skirt, wrist gaiters, and pockets designed for a lift pass, which make a practical difference on the mountain.
Goggles and gloves are the two accessories that have the biggest impact on comfort. For goggles, the main decisions are lens tint and fit. A medium-tint lens (often amber, rose, or vermillion) works across most light conditions - bright sun to flat light. If you wear glasses, look for OTG (over-the-glasses) goggles that sit comfortably over your frames without pressing on them.
For gloves, warmth and waterproofing matter more than dexterity at beginner level. A pair of insulated ski gloves with a waterproof membrane is the standard. Mittens are warmer than gloves because your fingers share body heat, so if you tend to get cold hands, mittens are worth considering. Whichever you choose, make sure they’re long enough to overlap with your jacket sleeves - cold air sneaking in at the wrist is a common source of discomfort.
Other accessories worth packing: a neck gaiter for windy or cold days, SPF 30+ sun cream (UV is intense at altitude), and lip balm with UV protection. A small backpack is useful if you want to carry water, snacks, and spare layers on the mountain.
The hire-versus-buy tipping point depends on how often you ski. For one trip a year, hiring usually makes more sense for technical equipment. You get freshly serviced gear fitted to your current ability each time, with no storage or transport hassle. For two or more trips a year, the economics start to shift - particularly for boots, which benefit most from a consistent, personalised fit.
Boots are typically the first purchase regular skiers make. A boot that’s been heat-moulded to your foot and adjusted by a specialist bootfitter is a different experience from a hire boot. The improvement in comfort and control is immediate. Skis tend to come second - once you know what type of skiing you prefer (groomed pistes, powder, park) you can choose a ski that suits your style rather than a general-purpose hire option.
Clothing sits in a different category. A ski jacket, trousers, base layers, and gloves are worth buying from your first trip if budget allows - they don’t change with your ability level, they last multiple seasons, and having gear that fits well makes the whole experience more comfortable from day one.
A bit of preparation the evening before your first day on snow saves time and stress in the morning. Collect your hire equipment the afternoon or evening you arrive - most hire shops in resort stay open late specifically for this. Try the boots on with your ski socks, walk around the shop, and flag anything that feels wrong before the morning rush.
Lay out your clothing the night before: base layers, mid-layer, ski socks, ski trousers, jacket, gloves, goggles, neck gaiter. Apply sun cream before you leave your accommodation - it needs time to absorb, and trying to apply it with cold hands and gloves on is a losing battle. Tuck your lift pass into the designated pocket on your jacket sleeve. The less you have to think about on morning one, the more you can focus on enjoying your first run.
Don’t skip the boot check on day one. Spend ten minutes on the nursery slope just flexing and walking in your boots before your lesson starts. If something pinches, rubs, or feels numb, go back to the hire shop immediately. A five-minute adjustment on the first morning prevents a week of discomfort.
Dry your boots overnight. Pull out the inner liners each evening and leave them somewhere warm - near (not on) a radiator, or in a heated boot room if your accommodation has one. Skiing in damp boots the next morning is colder and less comfortable, and moisture breaks down the liner faster.
Bring two pairs of gloves. Gloves get wet. It happens. Having a second pair means one can dry overnight while you wear the other. It’s a simple backup that makes a disproportionate difference on a cold morning.
Wear your ski trousers over your boots, not tucked in. The bottom of your ski trousers should sit over the top of the boot with a hook or elastic loop securing them to the boot buckle. This stops snow getting in from above. Tucking trousers into the boot creates bulk inside the shell and affects the fit.
✓ Hire boots, skis, poles, and helmet in resort. Bring clothing and accessories from home.
✓ Boot fit is the top priority. Snug, not loose - one pair of thin ski socks only.
✓ Choose beginner-level skis at the hire shop. Upgrade mid-trip if needed.
✓ Three clothing layers: moisture-wicking base, insulating mid, waterproof outer. No cotton.
✓ Goggles (UV400, medium-tint lens), waterproof gloves or mittens, SPF 30+ sun cream.
✓ Collect hire gear the evening before. Lay out clothing the night before day one.
✓ Consider buying boots after three or four trips. Hire everything else until you’re skiing regularly.
Both work, and the choice depends on what matters most to you. Pre-booking online reserves your equipment and sometimes unlocks a discount, but you still need to visit the shop for fitting. Booking in person means you can try before you commit and talk through options face to face. Either way, the fitting happens in resort - the main decision is whether you want the reservation secured before you travel.
Most hire shops allow swaps at no extra charge. If your boots are uncomfortable after the first morning, or you’ve progressed enough that your beginner skis feel too easy, the shop will swap them for a different size or tier. This is one of the main advantages of hiring in resort - you’re not committed to equipment that doesn’t work for you.
Helmets are included in most hire packages at European resorts, so there’s no need to buy one before your first trip. They’re compulsory for children in Italy and parts of Austria, and strongly recommended for everyone everywhere. If you ski regularly and prefer the fit and hygiene of your own helmet, buying one is a reasonable investment after your first trip or two.
The hire shop handles this for you based on your height, weight, and ability. As a rough guide, beginner skis typically reach somewhere between your chin and your nose when stood upright. Shorter skis are easier to turn but less stable at speed - which is exactly the right trade-off for learning. Don’t worry about memorising sizing charts; the technician will select the right length.
Second-hand skis and clothing can be good value, but boots are the exception. A used boot has already moulded to someone else’s foot, which means it won’t fit you properly no matter how similar your sizes are. Skis and outerwear hold up better on the second-hand market. For a first trip though, hiring is still the simplest option - you avoid transport hassle and get equipment matched to your current ability.
Got a clearer picture of what you need? WeSki’s AI trip planner turns your priorities into a shortlist of resorts that match