EN
EN

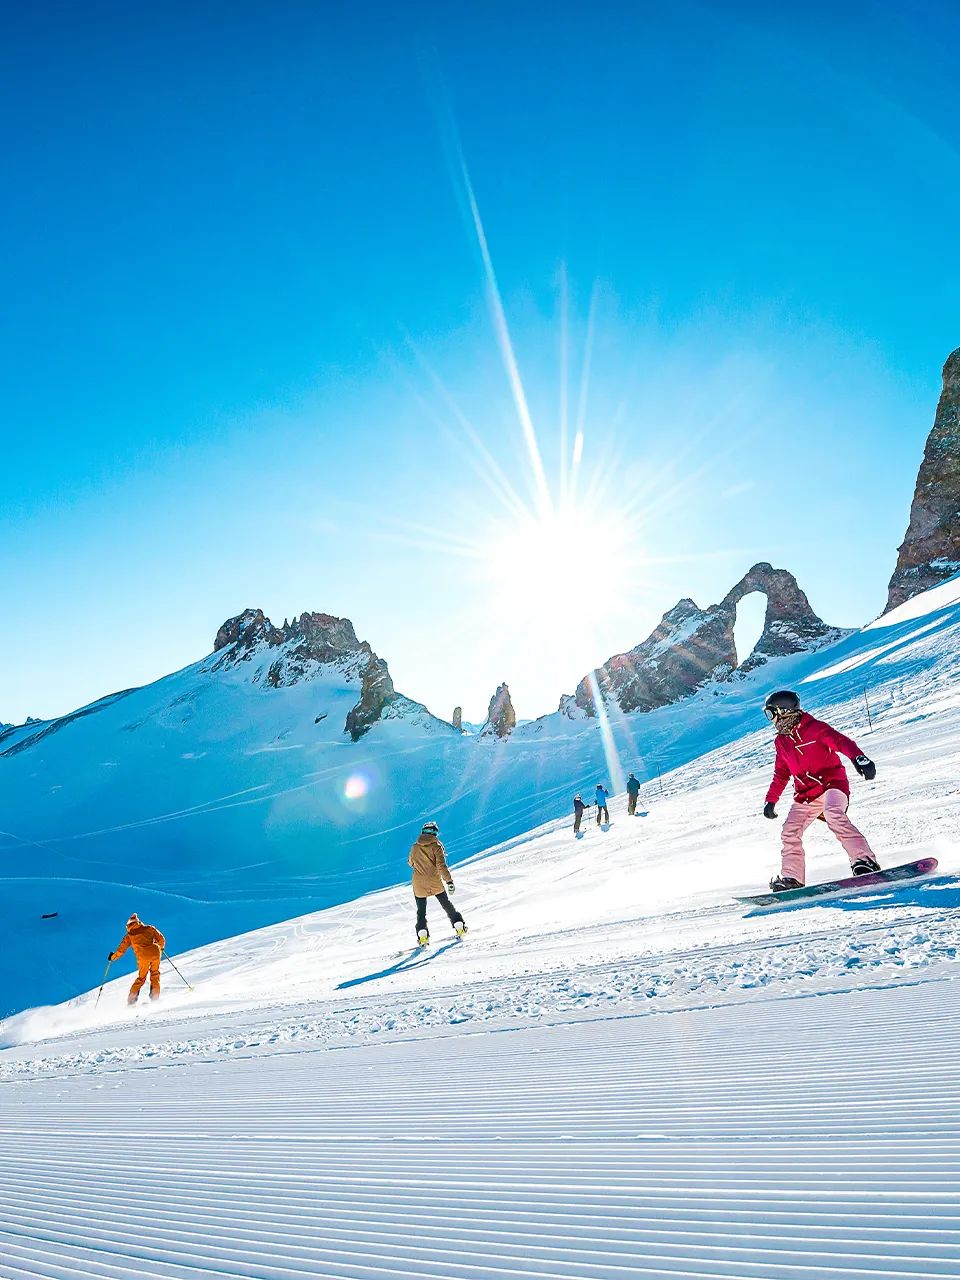
Starting snowboarding is one of the most rewarding things you can do on a mountain - but the first few days are honest about it. You'll fall, you'll ache, and at some point you'll wonder why your feet are strapped to the same plank. Then something starts to click, and the feeling of linking turns on a board is unlike anything else on snow. This guide covers the practical steps: picking a resort, booking lessons, getting the right gear, and the technique basics that make the biggest difference early on. If you're still deciding between skiing and snowboarding, our guide to the difference between skiing and snowboarding compares the two. And if you already know you want to board, our list of the best snowboarding resorts in Europe covers where to go.
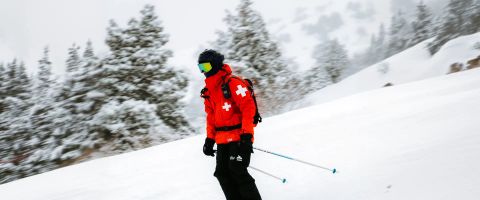
Not every resort is equally enjoyable on a board. The things that make a difference are the terrain layout, lift system, and how much flat ground you'll need to cross. Resorts with long, flat connecting paths (cat-tracks) are frustrating on a snowboard because you lose all momentum and end up unstrapping and walking. Look for resorts with wide, rolling runs, gondolas or chairlifts (rather than drag lifts, which are harder on a board), and a terrain park if freestyle interests you.
French resorts like Avoriaz and Morzine, Austrian destinations like Mayrhofen, and Italian resorts like Livigno all have terrain that flows naturally for snowboarders. When you book through WeSki, you can filter for board-friendly features like terrain parks and gondola access, which takes the guesswork out of the decision.
Lessons are not optional for a first-time snowboarder. The technique is specific enough that trying to work it out alone will cost you days of progress and significantly more bruises. A qualified instructor teaches you how to stop, how to control your speed using edge pressure, and how to fall safely - all things that are very difficult to figure out from watching others.
Group lessons are the most common starting point. You'll be with other beginners at a similar level, which is encouraging and means the instructor can address the common sticking points everyone hits. Classes typically run for a few hours in the morning, leaving the afternoon free to practise what you've learned. Private lessons are faster if you want one-on-one attention - most instructors can compress a full day of group content into a couple of hours.
When booking through WeSki, snowboard lessons are included in your package. You won't need to queue at the ski school desk on arrival or worry about availability - it's sorted before you travel.
For your first trip, hiring everything is the right approach. A rental package will include a snowboard, bindings, boots, and usually a helmet. The board will be sized to your height and weight, and the bindings set to a standard beginner angle - both of which a rental shop handles for you.
The most important thing to get right is your boots. Snowboard boots are softer than ski boots (closer to a stiff walking boot), but they still need to fit well. Your heel should stay put when you flex forward - if it lifts, the boot is too big and you'll struggle to control the board through your feet. Spend time trying boots on before accepting the first pair you're handed.
You'll also need to know whether you ride regular (left foot forward) or goofy (right foot forward). If you're not sure, your instructor will help you find out on day one. Most rental setups can be adjusted on the spot.
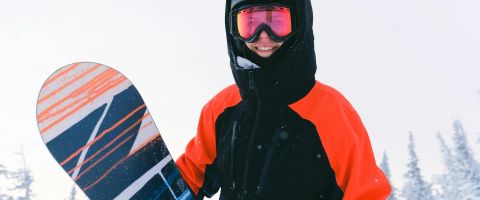
Snowboarding has a few specific clothing considerations beyond the standard ski layering system. You'll spend more time sitting in the snow than a skier does - getting up from falls, strapping in at the top of runs, sitting on the slope during lessons. That means waterproof trousers are essential, not just water-resistant. Look for trousers with reinforced knees and backside.
A good base layer (merino or synthetic, never cotton) sits against your skin and wicks moisture. A mid-layer adds warmth - a fleece or thin insulated jacket works well. Your outer shell should be waterproof and breathable. On top of that, bring a neck gaiter or buff, goggles, and a helmet.
Two extras worth investing in: wrist guards and impact shorts. Wrist guards protect against the most common beginner snowboarding injury - catching yourself on outstretched hands when you fall forward. Impact shorts cushion your tailbone when you fall backward. Neither is expensive, and both will make your first days significantly more comfortable.
Understanding a few fundamentals before your first lesson means the instructor's explanations will land faster. You don't need to master anything in advance - just knowing the vocabulary and the basic movements gives you a head start.
Stance and balance. You'll stand sideways on the board with your knees slightly bent and your weight centred between both feet. Your front foot (closer to the nose of the board) leads the direction. Keeping your knees soft and your core engaged is the single most important thing - a stiff, upright stance is what causes most beginner falls.
Edges. A snowboard has two edges: toe-side (the edge under your toes) and heel-side (the edge under your heels). All speed control and turning comes from shifting pressure between these two edges. Your first lesson will focus on heel-side slides - drifting sideways down the slope while pressing into your heels to control speed.
Linking turns. This is the goal of your first few days: transitioning smoothly from heel-side to toe-side and back again as you descend. When this clicks, you're snowboarding. It typically happens on day two or three for most people, though some get there faster and some take a little longer. There's no set timeline - it depends on your balance, your instructor, and how many runs you get in.
Catching an edge. This is the most common beginner fall. If the downhill edge of your board catches the snow (the edge you're not standing on), the board stops and you don't. It's sudden and can be jarring. The fix is always to keep pressure on the uphill edge - your instructor will drill this from the start.
Day one. Expect to spend most of your time on a gentle slope, learning how to strap in, stand up, and slide on your heel edge. You'll fall frequently - this is completely normal and not a sign of failure. By the end of the day, most beginners can do a controlled heel-side slide down a gentle slope. Your wrists, backside, and thighs will let you know they've been working.
Day two. Typically the breakthrough day. You'll start working on toe-side turns and begin trying to link heel and toe edges together. This is where the sport starts to feel different - the transitions between edges are what make snowboarding feel like riding rather than sliding. Some people link their first turns on day two; others are close but not quite there.
Day three onwards. Once linking turns starts to click, progress accelerates. You'll begin to ride longer runs, develop a sense of speed control, and start to feel the board respond to subtler weight shifts. By the end of a week, many beginners are comfortably riding blue runs and exploring more of the mountain. Others are still consolidating on greens - both are perfectly good outcomes.
Snowboarding uses your legs, core, and upper body in ways that everyday activities rarely do. The first few days will be tiring regardless of your fitness level, but arriving in reasonable shape makes the difference between tired-but-enjoying-it and too-exhausted-to-ride-the-afternoon.
Focus on three areas in the weeks before your trip: leg strength (squats, lunges, and wall sits), core stability (planks and rotational exercises - your core initiates every turn), and general cardiovascular fitness (running, cycling, or swimming). Even a few weeks of targeted preparation will make a noticeable difference to how you feel on day three.
Flexibility matters too, particularly in your hips and ankles. The snowboarding stance requires your ankles to flex and your hips to rotate, so a basic stretching routine will help your body adapt to the position more comfortably.
Practise getting up before you go. Seriously - getting up from a sitting position with both feet strapped into a board is more tiring than you would expect. Practise at home by sitting on the floor and standing up without using your hands. The core strength this builds will pay off on day one.
Wear your wrist guards from the very first run. Most wrist injuries happen in the first two days, not later in the week when technique improves. Don't wait until after a hard fall to decide they'd be useful.
Ask your instructor about your binding angles. Most rental setups use a standard angle, but small adjustments can make a big difference to comfort. A slight duck stance (both feet angled slightly outward) is popular for beginners and makes riding switch (in the opposite direction) easier as you progress.
Stop for the day before you're exhausted. Fatigue is when technique falls apart and injuries happen. If your legs are burning and your turns are getting sloppy, call it a day. The mountain will still be there tomorrow.
| Your snowboarding start checklist Choose a resort with wide runs, gondola lifts, and few flat sections. Book snowboard lessons - group for value, private for speed. Hire a board, boots, and bindings. Make sure boots fit snugly at the heel. Wear waterproof trousers, layers, helmet, goggles, wrist guards, and impact shorts. Learn the heel-side slide first. Linking turns comes by day two or three. Build leg strength, core stability, and flexibility before your trip. Stop riding before exhaustion sets in. Most injuries happen when you're tired. |
|---|
Most people can link basic turns within two to three days of lessons. By the end of a week, you'll typically be comfortable on blue runs and starting to develop a feel for speed and edge control. Full confidence on varied terrain takes longer - a second or third trip is where many people feel they've truly found their groove. Everyone progresses at a different pace, and that's completely normal.
People learn to snowboard at every age. The first day involves more falling than skiing does, which is physically demanding, but good protective gear (wrist guards, impact shorts, helmet) reduces the discomfort significantly. If you're reasonably active and willing to accept a steep first-day learning curve, age isn't a barrier. Plenty of people take up boarding in their thirties, forties, and beyond.
There's no need. Skiing and snowboarding use different movement patterns, so skiing experience doesn't directly translate to snowboarding ability. Some people find it helpful to have spent time on snow before, but others prefer to start fresh on a board without any skiing habits to unlearn. Choose whichever sport appeals to you and commit to it for your first trip.
Wrist injuries are the most common, caused by putting your hands out to break a fall. Wrist guards reduce this risk substantially and should be worn from day one. Bruised tailbones from backward falls are frequent but rarely serious - impact shorts cushion the blow. Taking lessons, wearing protective gear, and stopping before exhaustion all help keep your first week injury-free.
Hiring is the right choice for a first trip. Your preferences for board type, flex, and size will change as you progress, so buying before you know what suits you is premature. Rental boards are well-maintained and set up for beginners. If you fall in love with the sport and want your own kit, your second or third trip is a better time to invest - by then you'll know what you actually want. Our guide to the difference between skiing and snowboarding covers more on equipment differences.
Got a clearer picture of what you need? WeSki’s AI trip planner turns your preferences into a resort shortlist - tell it you're a first-time snowboarder and it'll find resorts that suit

WeSki is a trading name operated by WeTrip Ltd. All the flights and flight-inclusive holidays on this website are financially protected by the ATOL scheme. When you pay you will be supplied with an ATOL Certificate. Please ask for it and check to ensure that everything you booked (flights, hotels and other services) is listed on it. Please see our booking conditions for further information or for more information about financial protection and the ATOL Certificate go to: www.caa.co.uk.
Package holidays that do not include travel by air are financially protected via ABTOT.
For the latest travel advice from the Foreign & Commonwealth Office visit www.gov.uk/foreign-travel-advice.